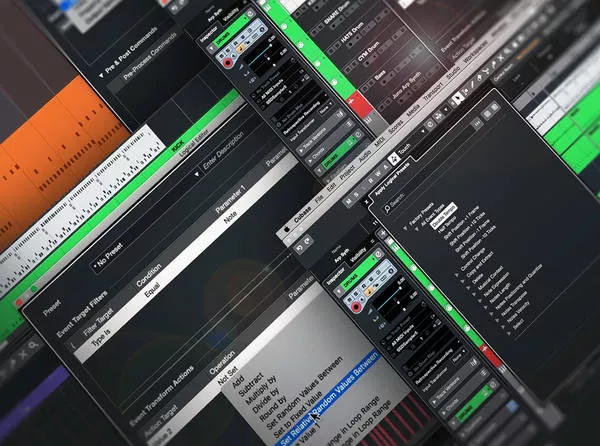
Groove3 Cubase Logical Editors Explained TUTORIAL
Learn the many benefits and incredible capabilities of the Cubase Logical Editors with expert Gary Hiebner in these extensive Cubase video tutorials! If you’ve ever wanted a quicker, easier way to accomplish many of the common editing tasks you use over and over in a Cubase session, the Logical Editors are the answer. With so much power, however, there is a bit of a learning curve, and that’s where this course comes in! Gary takes you step by step through some of the most useful features of the Logical Editors, demonstrating along the way with instructive examples so you’ll be armed with the knowledge to make them work for you! These videos are for new Cubase Logical Editors users.
After welcoming you, Gary begins by explaining the difference between the two main editors: the Project Logical Editor and the MIDI Logical Editor. Then you’ll learn how the Filter and Actions windows work, which is key to understanding the Logical Editor system.
Next, explore some presets of both the Project Logical Editor and MIDI Logical Editor and follow along as Gary reverse engineers their processes so you can better comprehend the syntax. Discover some uses for the Visibility Filters and Actions, such as hiding specific tracks, and learn how to save a user preset for future recall.
Over the remainder of the course, you’ll learn many more features, such as renaming tracks, selecting/deleting parts, editing automation, changing note velocities/lengths/timing, copy and extracting MIDI data, defining selections with ranges, pre and post commands, using macros, and more!
See the descriptions below for more information on the contents of each video. The Logical Editors are extremely powerful, but they’re not always incredibly intuitive. With these tutorials, you have no excuse not to take advantage of their amazing potential. Learn how to increase your productivity by leaps and bounds with “Cubase Logical Editors Explained®!”
- Share on Facebook


